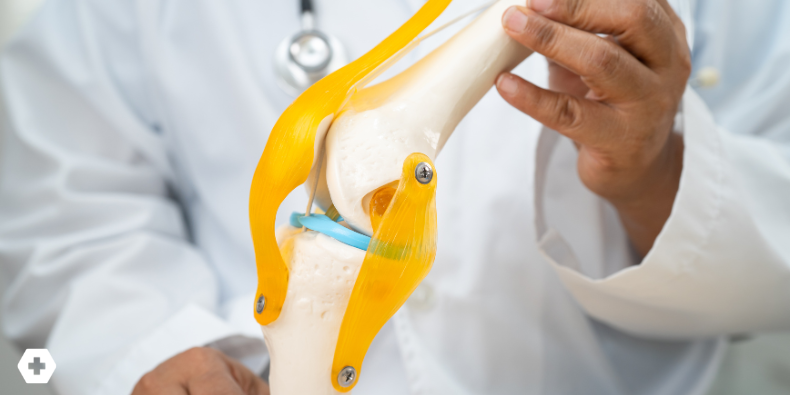
The Knee Exam, Rebooted: What Every Clinician Should Know

Knee pain is one of the most common musculoskeletal complaints seen in primary care, emergency medicine, and outpatient clinics. Yet despite its prevalence, evaluating an injured knee can feel deceptively complex. Swelling can obscure findings, patient discomfort may limit your exam, and the sheer number of specialized maneuvers can leave even experienced clinicians second-guessing their technique.
This guide offers a practical, up-to-date framework for performing knee exams that actually work in the real world. Whether you're a primary care doc, ED provider, or sports med specialist, these pearls are here to help you assess knee injuries with more clarity and confidence.
Start With a Structured Approach
Every solid knee exam starts with the basics. A structured, head-to-toe-style sequence helps you stay consistent and thorough:
1. Inspection
Observe both knees side by side. Look for:
-
Swelling or joint effusion
-
Bruising or discoloration
-
Obvious deformity
-
Muscle wasting or asymmetry
-
Gait abnormalities (if observed during ambulation)
Also assess for signs of prior surgery (e.g., scars, surgical hardware), skin integrity, and systemic disease (e.g., erythema or warmth).
2. Palpation
Get specific. Use anatomical landmarks to identify pain:
-
Medial/lateral joint lines (meniscus)
-
MCL and LCL origins
-
Patellar and quadriceps tendons
-
Tibial tuberosity and fibular head
-
Popliteal fossa
-
Posterior joint line (important for PCL injuries or posterior meniscal pathology)
3. Range of Motion
Check both active and passive movement:
-
Flexion (normal ~135 degrees)
-
Extension (should reach 0 degrees)
-
Hyperextension (up to 10 degrees can be normal in some patients)
-
Note any pain, crepitus, or mechanical block
Assess for extensor lag, which may indicate quadriceps or patellar tendon injury.
4. Strength Testing
Test major muscle groups if tolerated. Don’t forget to document whether strength is limited by pain or true weakness:
-
Quadriceps (extension against resistance)
-
Hamstrings (flexion against resistance)
Consider testing hip and ankle strength as well to rule out proximal or distal pathology.
5. Neurovascular Exam
Always essential, especially after trauma:
-
Dorsalis pedis and posterior tibial pulses
-
Sensation (especially peroneal nerve distribution, which wraps around the fibular head)
-
Capillary refill
-
Assess the motor function of dorsiflexion and plantarflexion
Don’t Let Swelling Derail You
Effusions make exams more difficult for both you and the patient. But swelling is also diagnostically valuable. A large effusion suggests intra-articular injury: think ACL tear, meniscal damage, or fracture. Conversely, the absence of swelling makes a significant internal derangement less likely.
Try a ballottement test or patellar tap to confirm the presence of an effusion:
-
Patellar Tap: Push fluid down from the suprapatellar pouch and press on the patella. A floating sensation or tapping indicates effusion.
-
Bulge Sign: Press the medial knee upward and then laterally. A wave of fluid on the medial side suggests a small effusion.
High-Yield Special Tests: What to Know and When to Use Them
ACL Integrity
-
Lachman Test: Best sensitivity/specificity for ACL tears, but requires skill. Look for increased anterior tibial translation and soft endpoint.
-
Lever Test: Easier for less experienced clinicians. Place your fist under the calf; push on the femur. An intact ACL lifts the heel off the table; a torn ACL does not.
-
Anterior Drawer: Less sensitive, but valuable in conjunction with other findings. Perform at 90° flexion.
PCL Integrity
-
Posterior Drawer: At 90° of flexion, push the tibia posteriorly. Look for increased movement compared to the opposite knee.
-
Sag Sign: Hold both heels with the knees bent at 90°. If the tibial tuberosity appears to "sag" posteriorly, suspect PCL injury.
-
Quadriceps Active Test: With the knee at 90° flexion and the foot stabilized, ask the patient to contract the quadriceps. Anterior tibial translation suggests a PCL injury.
Meniscal Injury
-
Thessaly Test: Patient stands, bends the affected knee to ~20°, and rotates side to side. Pain or locking is a positive test.
-
McMurray Test: Still used by some, but less favored due to difficulty in performance and interpretation.
Collateral Ligaments
-
Valgus Stress Test (MCL) and Varus Stress Test (LCL): Perform at ~30° flexion. Document pain and laxity separately. Both findings are diagnostically significant. Perform again at full extension to assess for more severe injury involving the joint capsule.
Patellar Instability
-
Apprehension Test: With the knee slightly flexed, apply lateral pressure to the patella. A positive test = patient guards, contracts the quadriceps, or shows visible discomfort.
-
Patellar Grind: Push down on the patella while the patient contracts the quadriceps. Pain suggests patellofemoral syndrome.
Effusion: More Than Just a Nuisance
Effusion is a high-yield finding in its own right. It reflects intra-articular pathology and can help you risk-stratify your patient:
-
Present: Suggests ACL, meniscus, osteochondral injury, inflammatory arthritis, or septic arthritis.
-
Absent: Lowers suspicion for serious structural damage.
Also note the timing:
-
Immediate swelling (within 2 hours) suggests hemarthrosis (e.g., ACL tear, fracture).
-
Delayed swelling (over several hours to days) may indicate meniscal injury or inflammation.
Document Like It Matters (Because It Does)
Precise documentation serves multiple purposes: it clarifies your clinical reasoning, communicates effectively with consultants, and protects you medico-legally. Consider this format:
-
1. Inspection: Swelling, discoloration, deformity
-
2. Palpation: Specific sites of tenderness
-
3. ROM and Strength: Quantify limitations and pain
-
4. Neurovascular: Pulses, sensation, cap refill
-
5. Special Tests:
-
-
-
-
- "Lachman positive: increased anterior translation, soft endpoint."
-
-
-
-
- "Valgus stress test positive for pain, no laxity."
-
Always compare with the contralateral knee and document that comparison. If the exam is limited due to pain or patient tolerance, state that clearly.
Key Takeaways
-
Use a consistent, structured approach to avoid missing key findings
-
Visual-based tests like the Lever Test and Sag Sign are underutilized gems
-
Don’t ignore effusion — it can be a diagnostic turning point
-
Side-to-side comparison is your best friend when subtle differences matter
-
Thoughtful documentation helps everyone down the line and supports safe, efficient care
The knee exam doesn't have to be overwhelming. With a grounded approach, a few reliable maneuvers, and good clinical judgment, you can evaluate knee complaints effectively and confidently in any setting.
Practice-Changing Education
Experience education that goes beyond theory. Explore Hippo Education’s offerings below.